
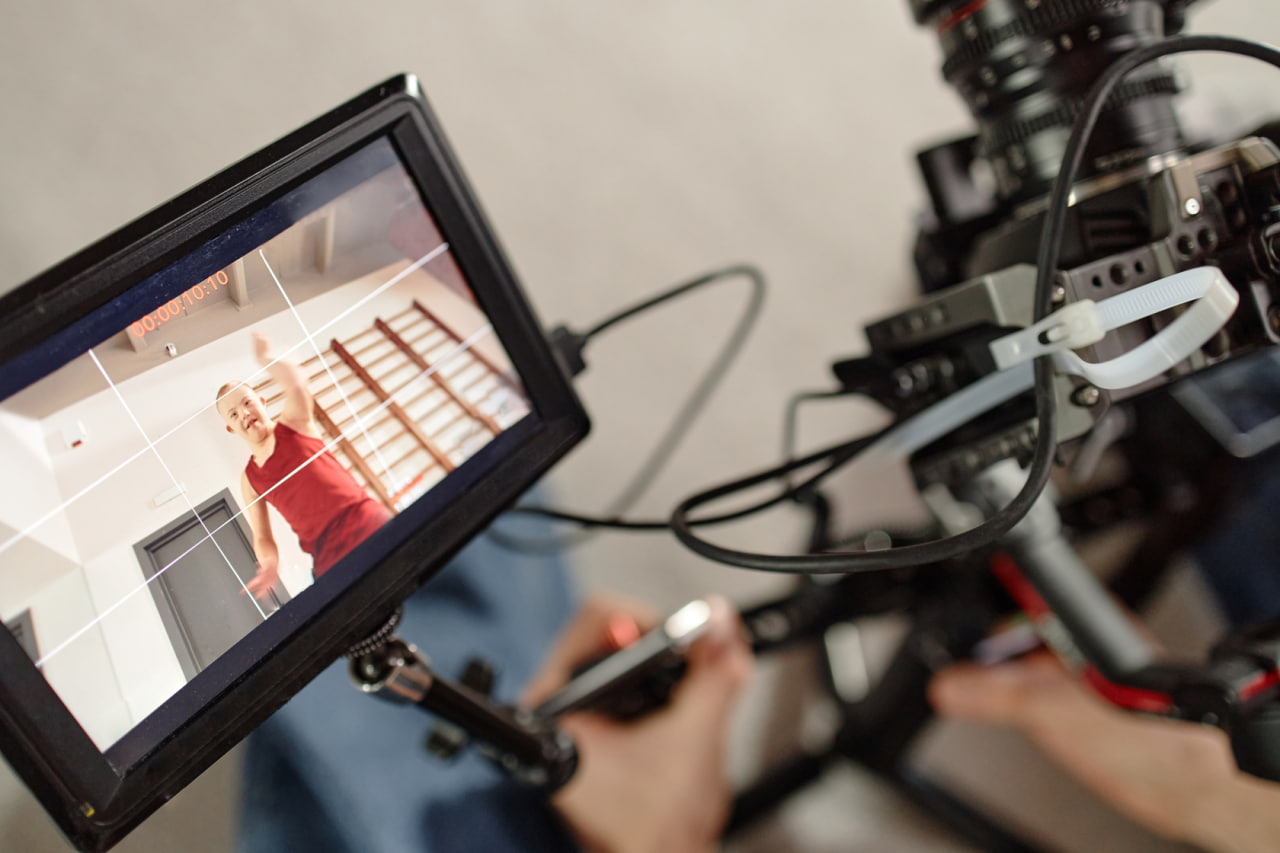
Lighting Techniques That Instantly Improve Video Quality
Why Lighting Is Essential in Videography Lighting is one of the most important elements in video production. Even with a high-quality camera and a well-planned scene, poor lighting can make footage appear dull, unclear, or unprofessional.
On the other hand, effective lighting can dramatically improve the appearance of a video by enhancing details, creating depth, and shaping the overall atmosphere of a scene. Many beginners focus heavily on camera settings or editing software while overlooking the importance of lighting. However, the way light interacts with a subject and the surrounding environment determines how colors appear, how shadows form, and how textures are captured on camera. Learning how to control light allows videographers to guide the viewer’s attention and establish the mood of a scene. Lighting does not always require expensive equipment. With an understanding of basic techniques and careful placement of available light sources, creators can significantly improve their footage. By observing how light falls across a subject and making thoughtful adjustments, even simple setups can produce visually compelling results. Understanding a few essential lighting techniques can help beginners create clearer, more balanced, and more engaging videos.
Understanding the Direction of Light One of the first aspects of lighting that videographers should consider is the direction from which light reaches the subject. The position of the light source influences how shadows appear and how three-dimensional the subject looks on camera. Front lighting occurs when the light source is positioned directly in front of the subject.
This type of lighting evenly illuminates the face or object and reduces strong shadows. It can be useful when clarity and visibility are the main priorities. However, because it minimizes shadows, front lighting may sometimes make scenes appear flat. Side lighting comes from the left or right of the subject. This technique creates stronger shadows and highlights that reveal shapes and textures. Side lighting is often used to add depth and visual interest, making the scene feel more dynamic. Backlighting occurs when the light source is placed behind the subject. This creates a glowing outline or silhouette effect. Backlighting can be used creatively to emphasize shape, create dramatic atmosphere, or separate the subject from the background. By experimenting with different lighting directions, videographers can influence how viewers perceive the subject and the overall tone of the video. The Three-Point Lighting Method One of the most widely used lighting setups in video production is the three-point lighting technique.
This method uses three separate light sources to create balanced illumination and natural-looking depth. Three point lighting consists of three lights. The first light is the key light. This light is the brightest in the scene and is usually positioned in front of the subject. The key light can also be positioned slightly off to the side and still be the key light. Key lighting is the main source of lighting used in a scene. Key lighting sets the overall mood of a scene. The second light is the fill light. The fill light is used to fill in the shadows created by the key light. The fill light is usually positioned on the opposite side of the key light and is usually not as bright as the key light. The fill light ensures the subject does not get lost in the shadows. The third light is the back light. The back light is used to separate the subject from the background. The back light is positioned behind the subject and is used to create a subtle glow around the hair, shoulders, etc… Three point lighting is a standard because it is simple to set up and always looks professional. Working With Natural Light Natural light is the easiest to find for any aspiring videographer. The sun is the best source of light and can create some of the most beautiful imagery. Window lighting is the simplest way to capture natural light indoors. When a subject is placed in front of a window, the light from the window wraps around the subject creating a soft natural light. The best way to capture this type of light is to place the subject facing the window. This is a great way to conduct an interview or capture someone speaking directly to the camera. If you are planning on shooting outside, there are a few things you need to consider when dealing with natural light. The worst time to shoot outside is when the sun is directly above. The light can be too harsh and create unflattering shadows and hot-spots. The best times to shoot are usually in the morning or later in the afternoon when the sun is lower in the sky. This time of day is considered the golden hour and creates a beautiful warm light that is easy to work with. Understanding how to work with natural light will help you plan your shots. Softening Light Some lights can be too harsh and create unflattering shadows and hot-spots. The best way to combat this is to soften the light.
A diffuser goes between the light and the subject to create a soft even light. You can purchase a professional diffuser, or use a white sheet, a piece of paper, or any other translucent object to diffuse the light. You can even bounce the light off of a white wall or ceiling to create a soft light. Creating a soft light will help create a more natural and flattering light when working with people. This is because soft light creates a very relaxed and natural look which is perfect for interviews, tutorial videos or for many other types of talking-head videos. Controlling Shadows for Better Depth Shadows are just as important as highlights and they define how good your video will look.
On one hand, having too many shadows will obscure details of your subjects, while, on the other hand, removing shadows completely will give your video an unnatural look. The trick is to strike a balance and create a good shadow, an ideal shadow is one that is visible enough to provide depth and dimension but light enough to allow the audience to see what you’re talking about. A good shadow will bring out the contours and textures of the subject, adding depth to the image. As an example, if the shadow on the left side of your face is too strong, then you can place a soft light source on that side to remove the shadow.
Lighting the Background Lighting the background is another trick that will improve the quality of your video. Using the lights that you already have, sometimes the background ends up too dark. In such cases, you will want to light the background to make the scene look more appealing. Lighting the background will not only bring out the textures and colors of the background, but it will also create a sense of separation between your subject and the background, making your video look more professional. For example, placing a lamp behind the presenter or shining a soft light onto a wall behind the subject will create a layering effect. Even a slight layering will help improve the video quality. Lighting According to the Mood of the Video Lighting for video is not just about lighting up a subject; it is also about setting the tone for your video. Depending on the type of lighting used, the mood of the video will be affected. If your video consists of bright, well-lit scenes, then the video will have a cheerful and energetic look, which is perfect for an educational video, a YouTube vlog or a business presentation. Conversely, if the video has a lot of shadows and dimly lit scenes, then the video will have a more dramatic look, typical of a cinematic look which is often used in narrative videos. Similarly, a warm color temperature will give your video a cozy and intimate look while a cooler color temperature will give a cooler and more relaxed feel. Hence, it is essential to use the right type of lighting for the right type of video. Conclusion Creating a good quality video is not as complicated as it seems. It’s not necessary to have the most advanced lighting kit to make your video look professional. Sometimes all it takes is a little awareness of how light behaves in different situations.